
Moving & Transportation
How to Install a Trailer Wiring Harness
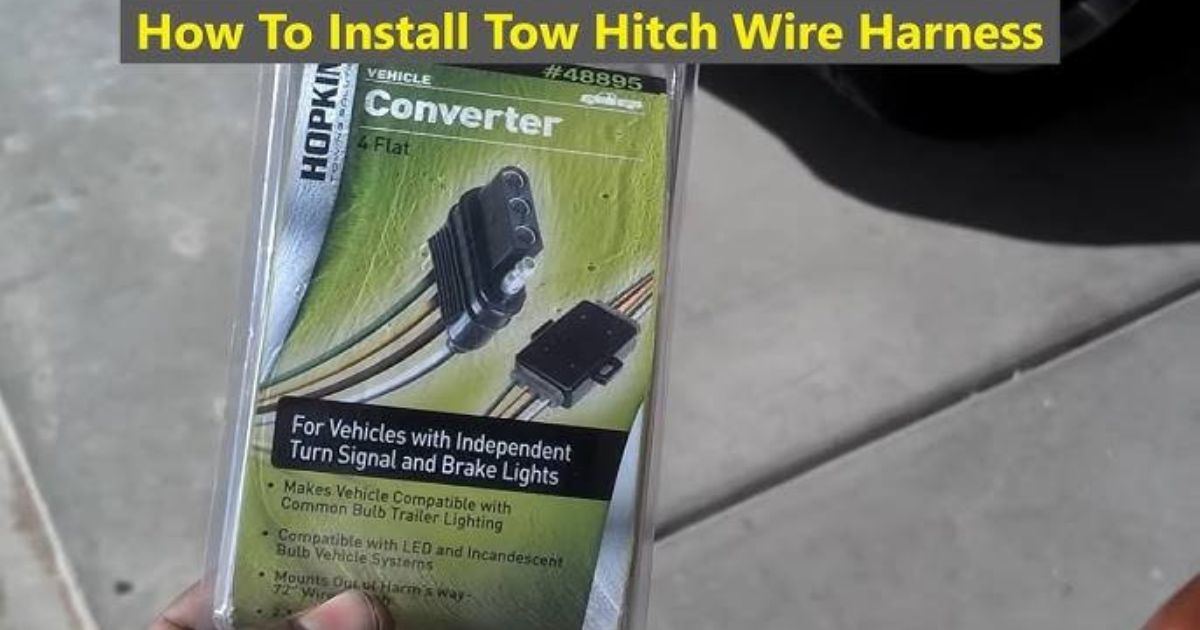
Installing a trailer wiring harness allows your trailer’s brake lights, turn signals, and running lights to sync with your vehicle. Follow these step-by-step instructions to install a wiring harness safely.
1. Tools & Materials Needed
✔ Trailer Wiring Kit (4-pin or 7-pin harness)
✔ Wire Cutters & Strippers
✔ Electrical Tape or Heat Shrink Tubing
✔ Crimp Connectors or Soldering Kit
✔ Test Light or Multimeter
✔ Zip Ties (for securing wires)
✔ Socket Wrench Set
📌 Tip: Check your vehicle’s manual to determine whether it has a factory trailer wiring connection.
2. Choosing the Right Wiring Harness
📌 Tip: If your vehicle has a factory tow package, you may only need a plug-and-play harness.
3. How to Install a Trailer Wiring Harness
Step 1: Disconnect the Battery
✔ Prevents electrical shorts during installation.
✔ Use a socket wrench to remove the negative (-) battery terminal.
Step 2: Locate the Vehicle’s Wiring Connection
✔ Check near the rear bumper or under the vehicle for a factory trailer wiring plug.
✔ If there’s no existing plug, you’ll need to hardwire the harness to your vehicle’s taillight wiring.
Step 3: Connect the Wiring Harness
✔ Plug-and-Play Installation (Easiest Method):
- Simply connect the harness to the factory trailer plug near the rear bumper.
✔ Hardwired Installation (For Vehicles Without a Factory Plug):
- Remove the taillight assembly to access the wiring.
- Identify the brake, turn signal, and running light wires using a test light or multimeter.
- Splice the harness wires to the corresponding vehicle wires:
📌 Tip: Use crimp connectors and heat shrink tubing for a waterproof connection.
Step 4: Secure the Wiring
✔ Route the wires away from hot engine parts and moving components.
✔ Use zip ties to fasten the wiring along the vehicle’s frame.
Step 5: Test the Wiring
✔ Reconnect the battery terminal.
✔ Use a test light or plug in a trailer to check that:
- Brake lights, turn signals, and running lights work correctly.
- No flickering or loose connections.
4. Common Trailer Wiring Issues & Fixes
5. FAQs
1. How long does it take to install a trailer wiring harness?
✔ Plug-and-play installation: 10-30 minutes
✔ Hardwired installation: 1-2 hours
2. Do I need a 4-pin or 7-pin trailer connector?
✔ 4-pin: Basic trailer lights (brake, turn, running).
✔ 7-pin: Needed for brakes, reverse lights, and auxiliary power.
3. Can I install a trailer wiring harness without cutting wires?
Yes! If your vehicle has a factory tow plug, you can use a T-connector harness without cutting wires.
4. What if my vehicle doesn’t have a factory tow package?
You’ll need to hardwire the harness to your vehicle’s taillight wiring.
5. Can I tow a trailer without trailer lights?
No! Trailer lights are legally required for safety on public roads.
Final Thoughts
Installing a trailer wiring harness is essential for safe towing. Whether using a plug-and-play kit or hardwiring the connections, secure the wires, test the lights, and ensure all signals work properly before hitting the road! 🚚🔧
Also Check:
• How to Install a Receiver Hitch
• How to Put a Tow Hitch on a Truck
• How Much Does U-Haul Charge for Hitch Installation?
Transporting a TV without a box can be tricky, but with the right techniques and precautions, you can ensure that your TV arrives at its destination safely. TVs, especially large flat-screen models, are delicate and can be easily damaged during transit if not properly handled. In this guide, we’ll show you how to transport a TV without a box and minimize the risk of any damage.
Why is it Important to Use Proper Protection?
The screen of your TV is fragile, and even a small impact can cause cracks, scratches, or other damage. When transporting your TV without a box, it’s essential to provide adequate padding and protection to prevent the TV from being jolted or scratched.
Materials You’ll Need
- Blankets or Moving Pads: For cushioning and protecting the TV.
- Bubble Wrap or Foam Sheets: For additional padding and protection around the screen.
- Packing Tape: To secure the bubble wrap or foam sheets.
- Cardboard Sheets: To reinforce the TV.
- Straps or Ropes: For securing the TV in place during transport.
- Towels or Soft Cloths: To cover and protect the screen.
Step-by-Step Guide to Transporting a TV Without a Box
Step 1: Clean the TV
Before you begin the packing process, clean the TV screen and its edges using a microfiber cloth. This will remove any dust or particles that could cause scratches during transport.
Step 2: Protect the TV Screen
The most fragile part of the TV is the screen, so it’s essential to take extra precautions to protect it.
- Wrap the Screen with Soft Cloth: Lay the TV flat on a soft surface and cover the screen with a towel or soft cloth to prevent any scratches.
- Add Bubble Wrap or Foam Sheets: Wrap the entire screen with a layer of bubble wrap or foam sheets. If using bubble wrap, ensure the bubbles face inward to provide cushioning. Secure the wrap with packing tape, but avoid taping directly on the screen. The goal is to provide padding but not put any pressure on the display.
Step 3: Add Protection Around the TV
- Use Moving Blankets or Pads: Lay moving blankets or pads over the entire TV, covering all sides. This will help protect the TV from bumps, jolts, and impacts during transport. You can also use extra towels or soft fabrics to fill in any gaps between the TV and the blankets for added cushioning.
- Reinforce the TV with Cardboard: If you have any spare cardboard sheets, you can cut them to fit the sides and back of the TV. This will help reinforce the TV and protect it from minor impacts. Avoid using too much cardboard around the screen, as it could add unnecessary pressure.
Step 4: Secure the TV
- Use Straps or Ropes: Once the TV is fully wrapped and protected, secure it with straps or ropes. If you’re using a vehicle for transport, make sure the TV is firmly secured to prevent it from shifting. If you’re transporting the TV in a car or moving truck, place it upright against a soft surface and strap it in place.
- Place the TV in a Secure Position: Ensure that the TV is standing upright (screen side facing inward) during transport. Avoid laying the TV flat on its screen as this could put pressure on the fragile display and cause damage.
Step 5: Transport the TV Carefully
- Drive Slowly: If you’re transporting the TV in a car or truck, drive slowly and avoid sudden stops or sharp turns. Even though the TV is wrapped and secured, rough handling can still cause internal damage or jar the protective layers.
- Avoid Extreme Temperatures: Don’t expose the TV to extreme temperatures, whether too hot or too cold. Try to keep it in a climate-controlled environment throughout the transport process.
Step 6: Unloading the TV
When you arrive at your destination, unload the TV carefully.
- Check for Damage: Before you unstrap or unwrap the TV, check for any visible damage, like cracks or dents. If you notice any issues, address them immediately.
- Unwrap and Inspect: Once the TV is in its new location, gently remove all the protective wrapping and check the screen and other components for any damage. If everything looks good, set the TV up in its new spot and reconnect it.
Additional Tips for Transporting a TV Without a Box
- Use a Moving Truck: If possible, use a moving truck with padded walls to transport your TV. This will help minimize any jostling or movement during the trip.
- Avoid Stacking: Never stack anything on top of the TV during transport. The weight could cause damage to the screen or other components.
- Take Your Time: Don’t rush the packing, loading, and unloading process. Carefully wrapping and securing the TV will save you time and frustration in the long run.
Conclusion
Transporting a TV without a box can be done safely with proper precautions. By wrapping the screen with soft cloth, bubble wrap, and moving blankets, and ensuring the TV is securely strapped in place, you can prevent damage during transport. Always handle the TV with care and take extra precautions to protect the fragile screen. By following these steps, you’ll ensure that your TV reaches its new destination in perfect condition.
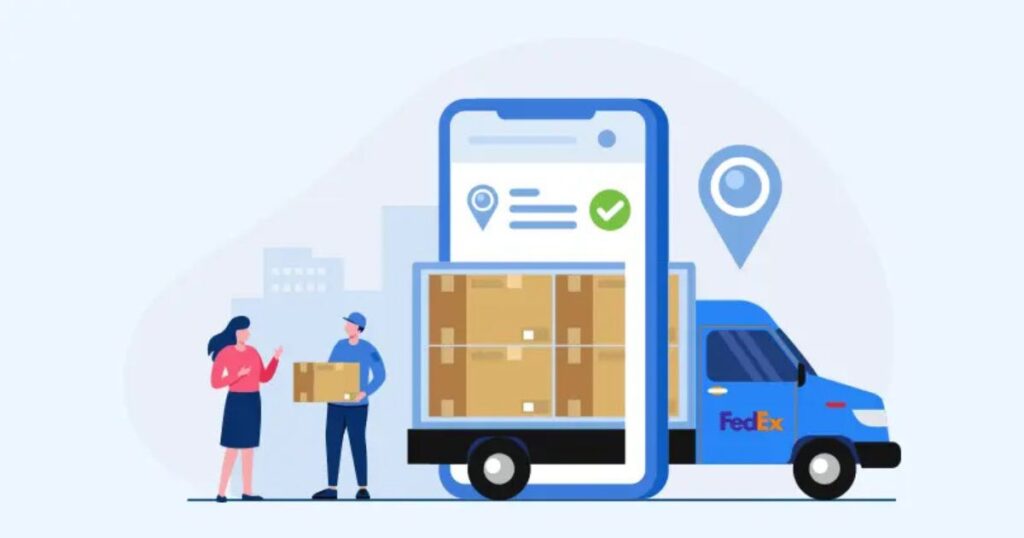
Yes, FedEx does deliver in the rain. FedEx operates in all weather conditions, including rain, snow, and other adverse weather, unless there are safety concerns that would prevent drivers from completing their deliveries. Their delivery operations are designed to continue running regardless of weather conditions, although extreme weather events (like hurricanes, floods, or snowstorms) could potentially cause delays.
⚙️ What to Expect During Rainy Weather
- Delivery Delays: While FedEx drivers are trained to deliver in all conditions, heavy rain or severe weather could lead to delays, especially in areas that are difficult to access due to flooding or hazardous conditions.
- Package Protection: FedEx takes precautions to ensure packages are protected during delivery, but there may be instances where the packaging could be slightly damp due to rain, depending on the packaging materials and how the package is handled.
- Tracking Updates: If there are any delays or changes due to weather conditions, FedEx typically updates the tracking information, allowing customers to monitor their package status in real-time.
🚗 Weather-Related Delivery Adjustments
- Severe Weather: In cases of extreme weather like hurricanes or blizzards, FedEx may adjust its service or delivery times based on local safety protocols. However, rain alone will not prevent deliveries from being made.
- Delivery Safety: FedEx drivers are trained to prioritize safety. If weather conditions are hazardous (such as flooding or unsafe driving conditions), there could be temporary service interruptions, but these are rare.
✅ Final Answer
Yes, FedEx delivers in the rain. Regular rain does not stop FedEx from making deliveries, although extreme weather conditions may cause delays or service interruptions. Generally, FedEx is well-equipped to handle all types of weather, including rain, to ensure timely deliveries.
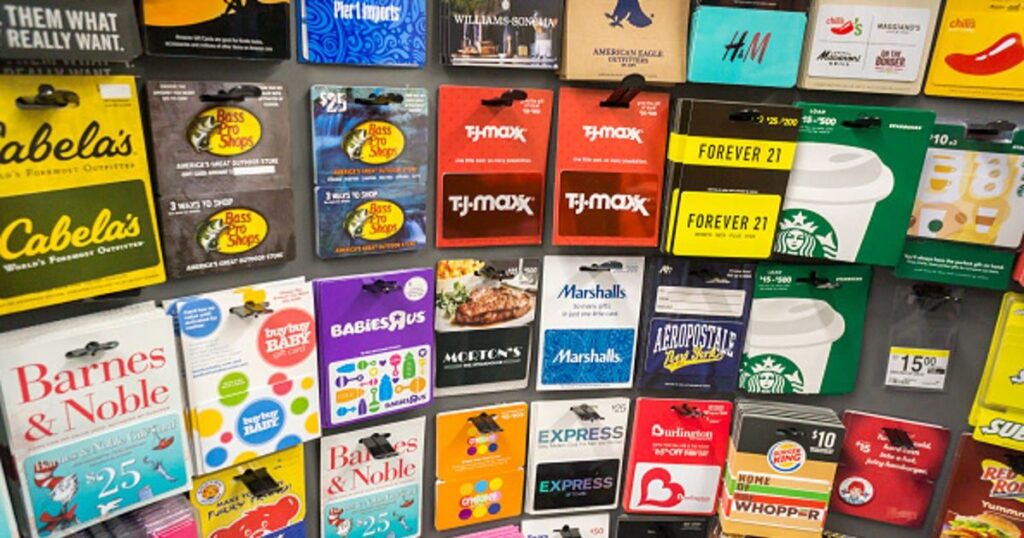
No, FedEx does not sell gift cards directly. FedEx is a logistics and shipping company, and while it offers a wide range of services related to parcel delivery, packaging, and shipping, it does not sell gift cards for retail or online use like stores or financial institutions do.
However, FedEx Office locations may sell prepaid cards or other forms of payment options, such as Visa or Mastercard gift cards, but these are typically for general use and not specific to FedEx services. These cards can be used at multiple merchants, including possibly for online purchases.
⚙️ What FedEx Offers
- Shipping Services: FedEx is primarily focused on parcel delivery and related services, such as express shipping, freight, and international shipping.
- Prepaid Cards at FedEx Office: While FedEx does not sell traditional gift cards for retailers, they may carry prepaid Visa/Mastercard cards in some of their office or retail locations. These cards can be used like debit cards for shopping, including at stores or online.
🚗 Where to Buy Gift Cards
If you’re looking to buy gift cards for specific retailers or services, you would typically go to:
- Retail stores: Major retailers like Walmart, Target, and grocery stores sell a wide variety of gift cards.
- Online retailers: Websites like Amazon or eBay offer a range of gift cards for popular brands.
- Banks or financial institutions: Many banks and credit card companies also sell gift cards.
✅ Final Answer
FedEx does not sell gift cards for retail purposes. They do sell prepaid cards at some locations, but these are general-use cards, not specific to gift card purchases for stores. For traditional gift cards, you would need to visit a retail store or online retailer.

How to Set Honuras Time Zone on a WR20BAR G-Shock
How to Sign Up on ETSGamevent
How to Switch Out HZ311 Thermostat for Ecobee Premium Thermostat
Can You Rent a Storage Unit for a Month?
How to Drop Off a U-Haul Truck or Trailer
How to Use Non Genuine Ink in Epson Printer
-
 Technology2 weeks ago
How to Use CPT Upgrade in gem5: Complete Step-by-Step Guide
-
 Home Improvement2 weeks ago
How to Switch Out HZ311 Thermostat for Ecobee Premium Thermostat
-
 Gaming2 weeks ago
How to Sign Up on ETSGamevent
-
 Technology2 weeks ago
How to Tell a Bad Plate on Flex Printing
-
 Technology2 weeks ago
How to Update AMD Software Adrenalin Edition G14
-
 Technology8 hours ago
How to Set Honuras Time Zone on a WR20BAR G-Shock